Python quick guide
Contents
1.3. Python quick guide#
1.3.1. Python Notebook#
We mainly use Python Notebook (.ipynb) to write documents for this course. Currently all main stream Python IDE support Python Notebook. All of them are not entirely identical but the differences are not huge and you may choose any you like.
One of the easiest ways to use Python Notebook is through JupyterLab. The best part about it is that you don’t need to worry about installation and configuration in the first place, and you can directly start to code.
Click the above link and choose JupyterLab. Then you will see the following page.
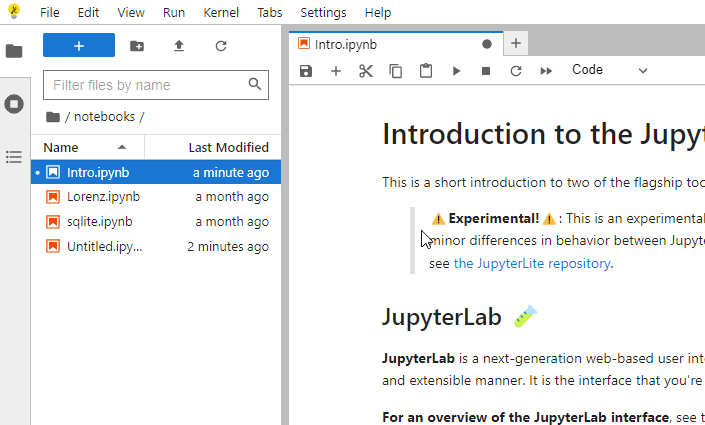
The webapp you just started is called JupyterLite. This is a demo version. The full JupyterLab installation instruction can also be found from the link.
There is a small button + under the tab bar. This is the place where you click to start a new cell. You may type codes or markdown documents or raw texts in the cell according to your needs. The drag-down menu at the end of the row which is named Code or Markdown or Raw can help you make the switch. Markdown is a very simple light wighted language to write documents. In most cases it behaves very similar to plain texts. Codes are just regular Python codes (while some other languages are supported). You may either use the triangle button in the menu to execute the codes, or hit shift + enter.
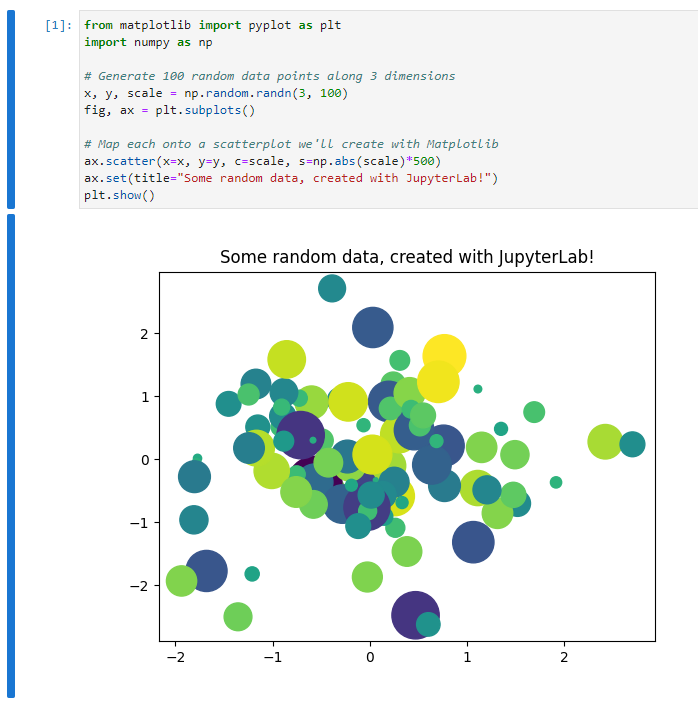
JupyterLite contains a few popular packages. Therefore it is totally ok if you would like to play with some simple things. However since it is an online evironment, it has many limitations. Therefore it is still recommended to set up a local environment once you get familiar with Python Notebook. Please check the following links for some popular choices for notebooks and Python installations in general, either local and online.
1.3.2. Python fundamentals#
We will put some very basic Python commands here for you to warm up. More advanced Python knowledge will be covered during the rest of the semester. The main reference for this part is [3].
1.3.2.1. Indentation#
Python is using indentation to denote code blocks. It is not convienent to write in the first place, but it forces you to write clean, readable code.
By the way, the if and for block are actually straightforward.
if jj < 3:
    jj = jj
    print("It is smaller than 3.")
if jj < 3:
    jj = jj
print("It is smaller than 3.")
for i in range(3):
    i = i + 1
    print(i)
for i in range(3):
    i = i + 1
print(i)
Please tell the differences between the above codes.
1.3.2.2. list and dict#
Here are some very basic usage of lists of dictionaries in Python.
newlist = list()
newlist.append(1)
newlist.append('hello')
print(newlist)

newlisttwo = [1, 'hello']
print(newlisttwo)

newdict = dict()
newdict['one'] = 'good'
newdict[1] = 'yes'
print(newdict)

newdicttwo = {'one': 'good', 1: 'yes'}
print(newdicttwo)
1.3.2.3. Loop through lists#
When creating for loops we may let Python directly loop through lists. Here is an example. The code is almost self-explained.
alist = ['one', 2, 'three', 4]

for item in alist:
    print(item)
1.3.2.4. Reading files#
There are a lot of functions that can read files. The basic one is to read any files as a big string. After we get the string, we may parse it based on the structure of the data.
The above process sounds complicated. That’s why we have so many different functions reading files. Usually they focus on a certain types of files (e.g. spreadsheets, images, etc..), parse the data into a particular data structure for us to use later.
I will mention a few examples.
csvfiles andexcelfiles Both of them are spreadsheets format. Usually we usepandas.read_csvandpandas.read_excelboth of which are from the packagepandasto read these two types of files.images Images can be treated as matrices, that each entry represents one pixel. If the image is black/white, it is represented by one matrix where each entry represents the gray value. If the image is colored, it is represented by three matrices where each entry represents one color. To use which three colors depends on the color map.
rgbis a popular choice.In this course when we need to read images, we usually use
matplotlib.pyplot.imreadfrom the packagematplotliborcv.imreadfrom the packageopencv..jsonfiles.jsonis a file format to store dictionary type of data. To read ajsonfile and parse it as a dictionary, we needjson.loadfrom the packagejson.
1.3.2.5. Writing files#
1.3.2.6. Relative paths#
In this course, when reading and writing files, please keep all the files using relative paths. That is, only write the path starting from the working directory.
Example 1.2
Consider the following tasks:
Your working directory is
C:/Users/Xinli/projects/.Want to read a file
D:/Files/example.csv.Want to generate a file whose name is
result.csvand put it in a subfoler namedfoldername.
To do the tasks, don’t directly run the code pd.read_csv('D:/Files/example.csv'). Instead you should first copy the file to your working directory C:/Users/Xinli/projects/, and then run the following code.
import pandas as pd

df = pd.read_csv('example.csv')
df.to_csv('foldername/result.csv')
Please pay attention to how the paths are written.
1.3.2.7. .#
class and packages.
Get access to attributes and methods
Chaining dots.
1.3.3. Some additional topics#
1.3.3.1. Package management and Virtual environment#
-
conda createconda create --name myenvconda create --name myenv python=3.9conda create --name myenv --file spec-file.txt
conda installconda install -c conda-forge numpy
conda activate myenvconda listconda list numpyconda list --explicit > spec-file.txt
conda env list
pip/venvpython -m venv newenvnewenv\Scripts\activatepip installpip freeze > requirements.txtpip install -r /path/to/requirements.txtdeactivate
1.3.3.2. Version Control#
Gitgit config --listgit config --global user.name "My Name"git config --global user.email "myemail@example.com"
GitHub